
Doubleweave Hem

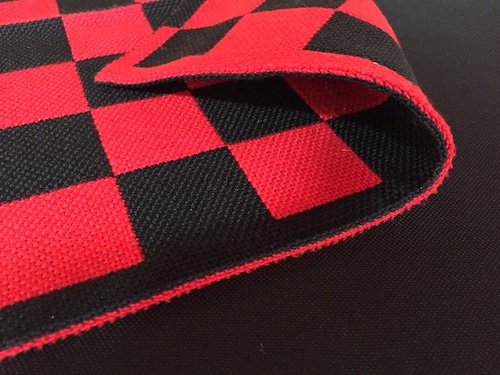
If you are thinking about weaving a project in doubleweave and don’t want to have any kind of fringe on the ends of your piece, there is a great way to have hemmed edges that look perfect from both sides of the cloth that is unique to doubleweave.
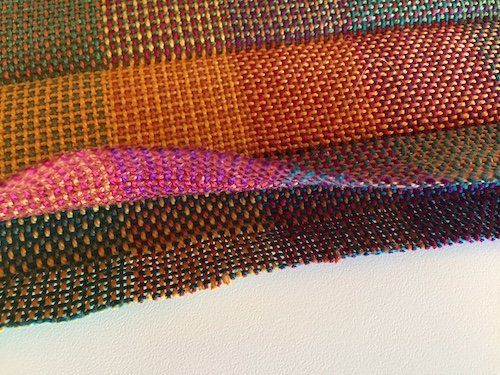
It’s always best to think about how you are going to finish the ends of your cloth before you start to weave, and this is no exception. At the beginning and end of your weaving you need to weave your two layers in a tubular fashion for the length that you want at the ends, plus at least an extra 1/2” to 3/4” that can be turned to the inside for the hem. This can be done with either a single shuttle or with two shuttles that interlock at the selvedges.
For this piece I wove a tubular beginning and ending that was just about twice as high as it ended up being after it was turned to the inside of the tube, or about an inch and a half in total.
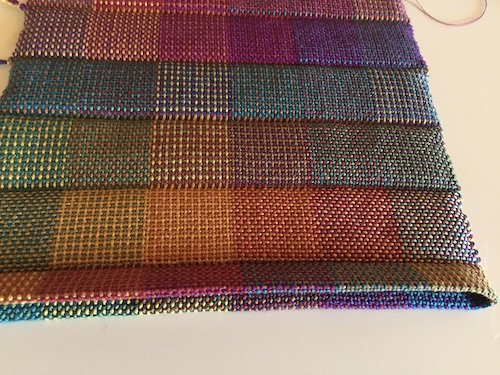
I generally weave the turned-in tube with the same weft yarn as I will be using for the body of the weaving, but if you want it to be thinner than the body of your weaving you can use a finer yarn as weft for the section that will be turned in. I also weave a couple rows on each layer in a contrasting color at each end of the tube as a marker for where to cut.
Once my weaving is off the loom I seal the cut edges with fabric glue, such as Fray-chek. Because these edges will be enclosed inside the hem they won’t be seen again. I find this works even better than zigzag stitching around the edges because it can be hard to sew around the small tube on a sewing machine, and sometimes the machine stitching can cause puckering in the cloth.
Then the two edges of the cloth are turned to the inside of the tube. Using a weft row as a guideline you can make the hemmed edge nice and even.
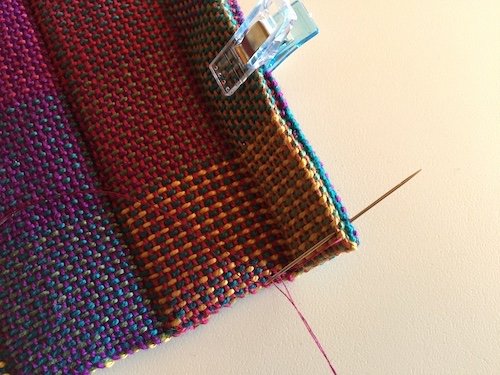
You can get these nifty little plastic clips at craft stores or sewing shops to pinch the two sides of the hem together and keep them in place while you sew the hems.


I generally use a doubled length of sewing thread that is two to three times the width of the weaving and a sharp needle for sewing the hem. Start by bringing the needle to the inside of the selvedge, about an inch below the edge of the weaving. Then snake the needle along the selvedge between the two layers and bring the needle back out right at the corner of the weaving.

Bring the needle around one warp or weft thread at the corner, and then bring it through a loop in the thread to make a secure knot. Once the knot is secure the tails of the thread can be cut off.

To weave the hem, catch a thread at the edge of the hem, alternating between one layer and the other layer in a continuous back-and-forth stitch.

When you get to the other end of your hem bring the needle through a warp or weft end and through a loop in the thread to make a knot, just as you did at the beginning of the hem.

Once that knot is secure insert the needle between the two layers and carry it along the selvedge for an inch or so. Bring the needle back out to the surface and then clip off the thread.


You now have a lovely hemmed edge to your weaving. Your piece looks equally finished from both sides so you can show off whichever side you prefer.
